Friday, November 20, 2015
Cut out image with a Layer Mask
There are various ways of cutting out an image from the background. You can use a Vector Mask, Magnetic Lasso, the Pen Tool and with Channels. All these methods give satisfactory results, though the PenTool, Vector Mask and Channels are superior methods of isolating part of an image compared to the Magnetic Lasso.
There is yet another method to cut out an image from its background. This involves using a Layer Mask and a great deal of patience. Otherwise, it's easy and can be done in any version of photoshop. So, let's begin.
There is yet another method to cut out an image from its background. This involves using a Layer Mask and a great deal of patience. Otherwise, it's easy and can be done in any version of photoshop. So, let's begin.
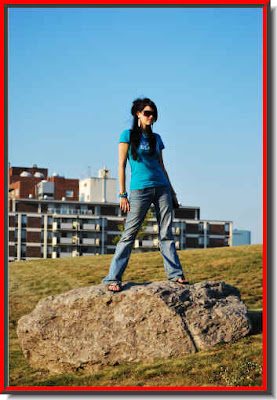
Step 1 : I have opened this photo in Photoshop. It is a high resolution free stock image. You can download it here. You will only need to register. Registration is free.
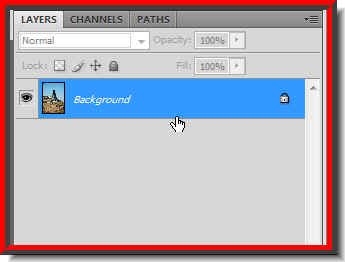 Step 2 : Look at the Layers pallette. There is only a single layer -- the Background layer. A background layer is always uneditable. It has to be unlocked.
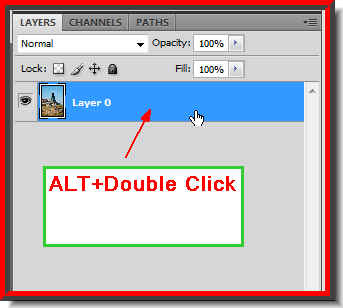 Step 3 : To unlock the Background layer, press ALT and double click the Background layer. It changes to Layer 0 (zero).
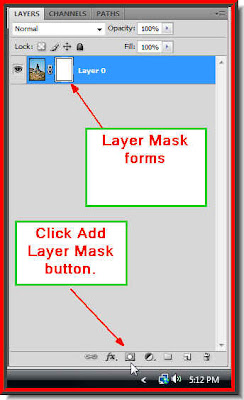 Step 4 : Click the Add Layer Mask button and a Layer Mask forms next to the Layer thumbnail on Layer 0.
 Step 5 : Click on the Zoom Tool. The magnifying glass like icons in the top panel is for zooming in or out. Click the one one with the plus sign to zoom in and the on with the minus sign to zoom out.
 Step 6 : Zoom into the image. You need to see clearly what you are doing.
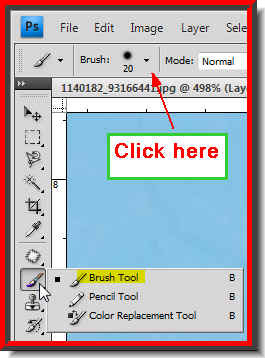 Step 7 : Click on the Brush Tool. Click where the arrow points to in the top panel to reveal the default Brushes.
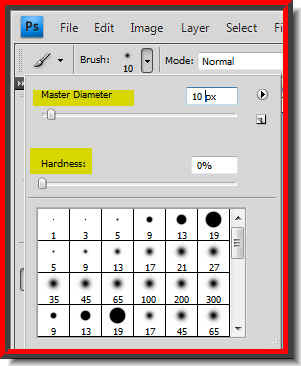
Step 8 : Set the Hardness to zero and the Master diameter to 10.

Step 9 : Ensure that the Foreground Color is set to Black and Background to White. These are the default settings. If it is not press 'x' and then 'd' on your keyboard to restore the default setting.
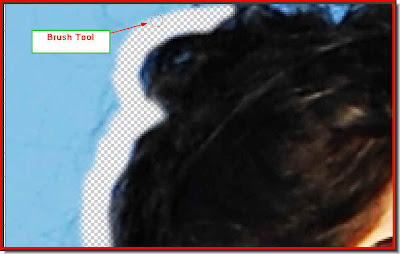 Step 10 : With the Brush begin painting away near the edge of the girl's figure. I am working on the girl's head. You have to increase and decrease the size of the Brush as you paint. To increase the size of the Brush tip press ] (right bracket key next to the letter P on the keyboard). To decrease the size of the Brush tip press [ key.
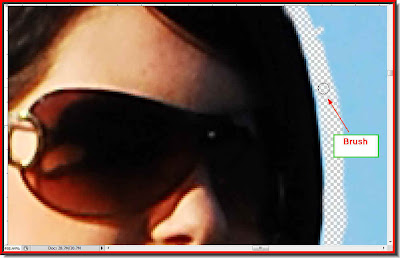 Step 11 : Keep changing he Brush size as you paint away revealing the transparent background. This is the tedious part, but do it carefully or the results may go awry.
  Should you accidentally paint out a portion, change the Foreground Color to White by clicking on the small bent arrow. After painting away the mistake, again switch the Foreground Color to Black and continue.
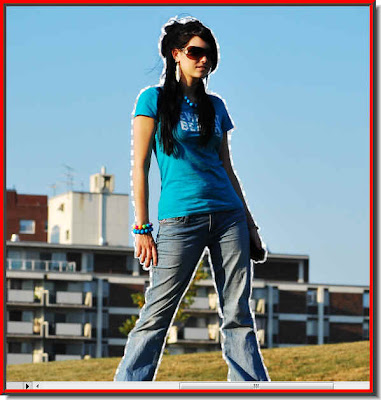 Step 12 : I have painted away all around the edges. It took me quite a while.
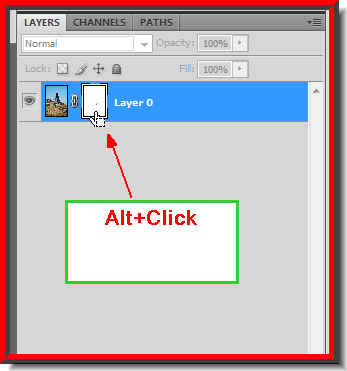
Step 13 : Now press ALT and click on the Layer mask. 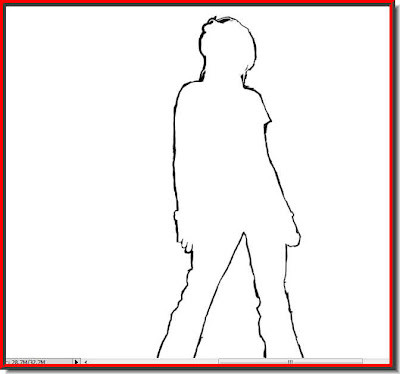
This is the how the image looks after ALT+Clicking the Layer Mask.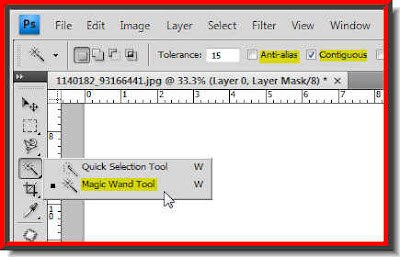
Step 14 : Now click on the Magic Wand Tool. Make sure that Anti-alias in the top panel is unchecked and Contigous checked. Click on the white area outside the selection with the Magic wand.
Step 15 : A selection of marching ants select the white area outside the girl's image.
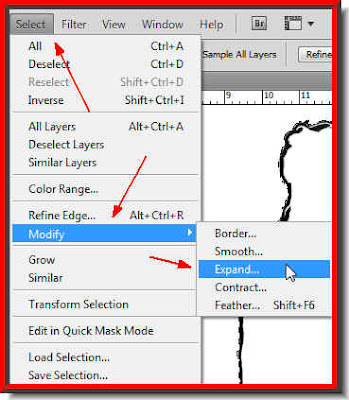
Step 16 : Go to Select>Modify>Expand.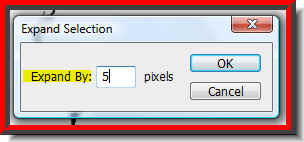
Step 17 : Put 5 pixels in the box that opens. 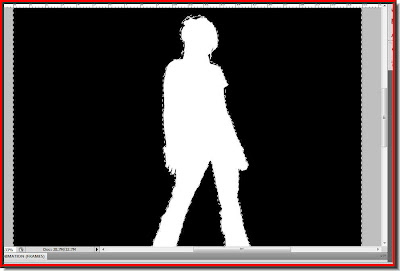
Step 18 : Presss ALT+BACKSPACE. This will fill the selection with the Foreground color which is Black.

Step 19 : Now, CTRFL+CLICK the Layer Mask again.
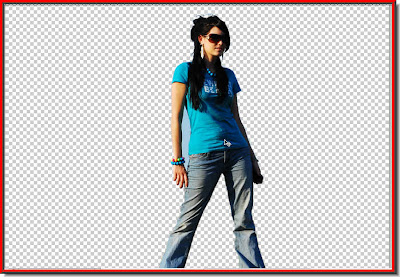 And, there you have it. The image has been cut out from its background. Omigosh! I have forgotten the part between her arm and body!!
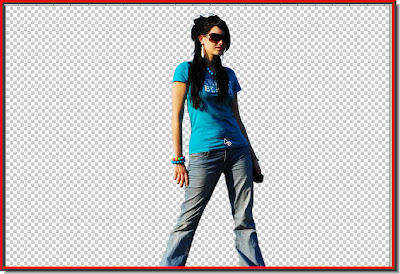
There you are. I have corrected it. But this is by no means finished. The next part of the tutorial is continued here.
Other Photoshop tutorials are here.
Subscribe to:
Post Comments (Atom)
No comments:
Post a Comment