Thursday, November 5, 2015
Frame - Square Frame
I have just shown how to make a circular frame in Photoshop. The tutorial is here. You can make a square frame following the steps. But this is another way of making a Square Frame. All you need is a single photo.
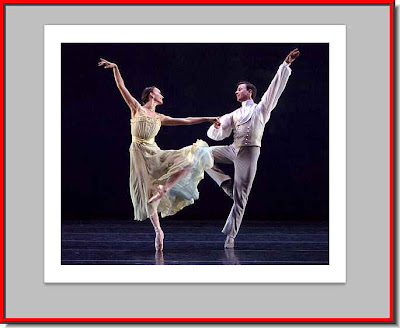
 Step 1 : I have opened this photo in Photoshop.
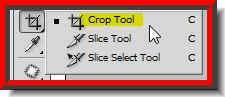 Step 2 : Click the Crop tool.
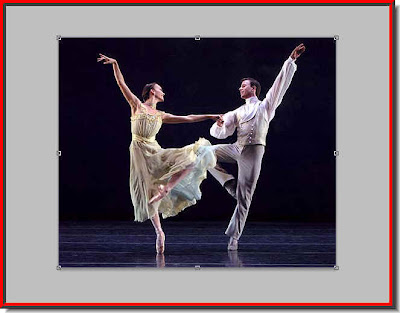 Step 3 : With the Crop Tool drag from the top left corner to the right bottom of the image.
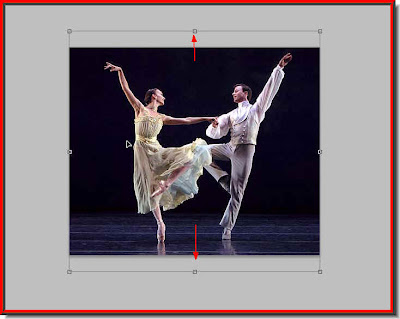 Step 4 : Now press CTRL+SHIFT and drag either the bottom or top central handle outwards.
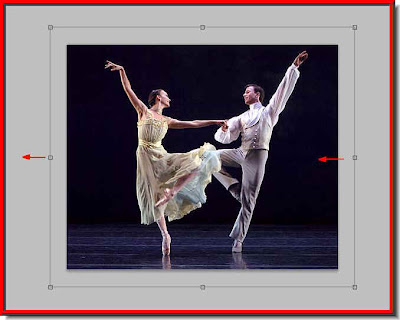 Step 5 : Now still keeping SHIFT+ALT pressed drag the middle corner handle either on the left side or the right side.
 Step 6 : Press Enter. And there is your frame. If you want something more, just keep following.
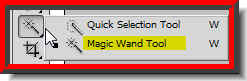 Step 7 : Click the Magic Wand Tool.
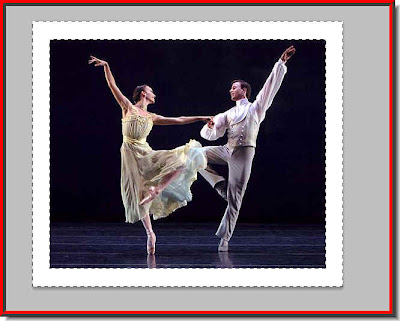 Step 8 : Now click once on the White Frame with the Magic Wand. A selection of marching ants select the White portion.
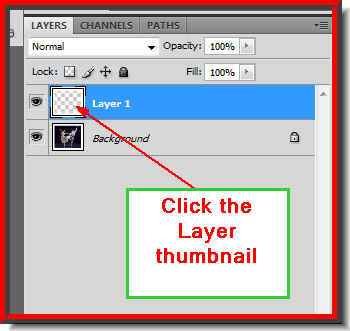 Step 9 : Press CTRL+J. The White Frame will be cut and pasted onto Layer 1. The marching ants will automatically disappear. Now click the layer thumbnail again on Layer 1 and the marching ants will reappear.
Step 1 : I have opened this photo in Photoshop.Step 2 : Click the Crop tool.Step 3 : With the Crop Tool drag from the top left corner to the right bottom of the image.Step 4 : Now press CTRL+SHIFT and drag either the bottom or top central handle outwards.Step 5 : Now still keeping SHIFT+ALT pressed drag the middle corner handle either on the left side or the right side.Step 6 : Press Enter. And there is your frame. If you want something more, just keep following.Step 7 : Click the Magic Wand Tool.Step 8 : Now click once on the White Frame with the Magic Wand. A selection of marching ants select the White portion.Step 9 : Press CTRL+J. The White Frame will be cut and pasted onto Layer 1. The marching ants will automatically disappear. Now click the layer thumbnail again on Layer 1 and the marching ants will reappear.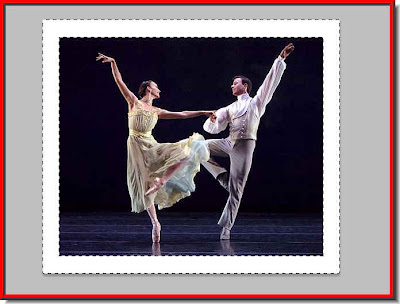 Step 10 : The marching ants reappear on the white frame.
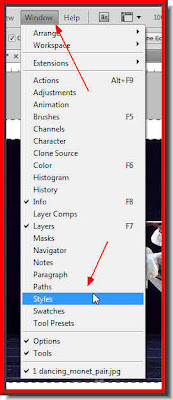 Step 11 : Go to Windows>Styles to reveal the Styles if it is not already visible on a panel in the right.
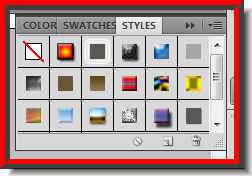 Step 12 : The Styles dialogue box opens. These are the default Styles. There are many more Styles hidden. Click the tiny black arrow on the right top corner to reveal the other Gradients. You will have to click to select them. But here I will make do with the Styles that can be seen here.
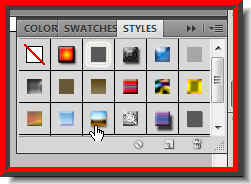
Step 13 : I have clicked on a Gradient, the one the small white hand points to in the bottom row.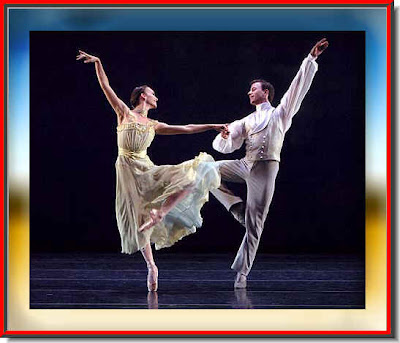
And this the effect I have got. So will you. It is as simple as that. 
Step 14 : To undo a Gradient click at the top left or the first one in the top row. I am now clicking on the second Gradient on the top row. 
This the effect you will get. 
Step 15 : I have clicked on the fourth Style in the middle row. 
And this is the effect I have got and so will you too. How long did it take? You can do it any version of Photoshop including Photoshop 7.
Other Photoshop tutorials are here.
Subscribe to:
Post Comments (Atom)
No comments:
Post a Comment