Tuesday, November 3, 2015
Shattered Glass

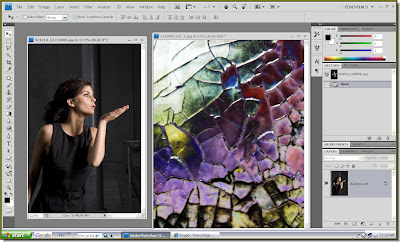
Step 1 : I have opened these two stock images. The right one is the glass texture I have downloaded from the link above.

Step 2 : Click the Move Tool. Make sure that 'Show Transform Controls' is checked. It is called Bounding Box in PS7 and is found in the same place.

Step 3 : Keeping Shift pressed drag the shattered glass texture onto the other image with the Move Tool.

Step 4 : The shattered glass texture has landed exactly in the middle of the other photo. This is because the Shift was kept pressed.

Step 5 : Now keep Shift+Alt pressed and drag one of the corner handles till the texture covers the other photo entirely. It will drag the texture proportionately. Then click the Tick mark in the top panel. This will apply the transformation or in other words, since you have changed the shape of the texture, Photoshop will resize it.

Step 6 : In the Layers pallette reduce the opacity of Layer1 to 50%.

Step 7 : Now change the Blend Mode to Screen or Lighten, whichever suits your image.

And, there is the shattered glass effect. It did not take long did it! You can do it in any version of photoshop.
Find other tutorials here.
No comments:
Post a Comment