Thursday, November 26, 2015
Face in the wall


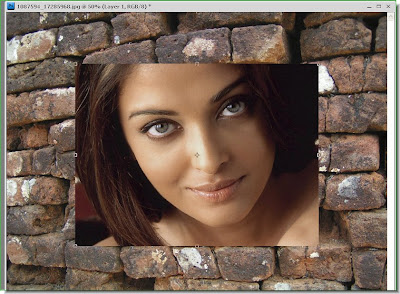
 Step 8 : Now click on the Background layer.
 Step 9 : Go to File>Save As.
 Step 10 : This dialogue will open. You can choose where to save it on your computer. Give the file a name. I have named mine 'brick wall'. The Format should be PSD. Click Save.
Step 11 : Now click on Layer1.

Step 12 : Go to Filter>Distort>Displace.

Step 13 : This dialogue box appears. Just click ok.

Step 14 : As soon as you click ok, this dialogue box opens. Click the PSD file.

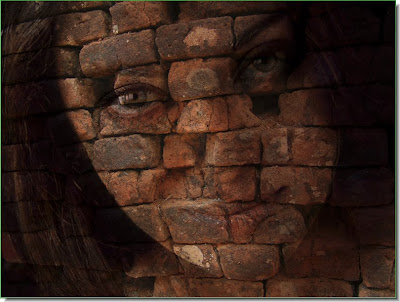
This is the result you get. Let me explain. when you are saving the background as a PSD file you are doing do so to use it as a Displacement map. You are applying the Displacement Map with the Distort>Displace filter. What actually is happening is that layer1 is fitting onto the contours of the background layer brickwall.

Step 15 : Select the Rectangular Marquee Tool.

Step 16 : I have drawn out a selection with the Rectangular Marquee Tool to include the face primarily.

Step 17 : Go to Image>Crop.
The image has been cropped. Press CTRL+D to deselect. and, that is all. You can use any image for a Displacement map instead of a brick wall. You will come up with interesting effects. That's all for now.
For another interesting special effects tutorial go here.
No comments:
Post a Comment