Tuesday, November 24, 2015
Skin - Removing minor skin blemishes
This is tutorial on removing minor skin blemishes and softening skin with selective sharpening in Photoshop which should be easy to do. We will be using the Spot Healing Brush Tool. I will show you how it works.
Step 1 : I will be using this free stock image which you will find here
It belongs to SaphireNishi
Step 2 : You can see that there are some blemishes on the skin. These have to be removed first.
Step 3 : First duplicate the Background Layer by pressing CTRL+J.
Step 4 : We will use the Spot Healing Brush Tool. You can also use the Healing Brush Tool and the Clone Tool if you do not have the Spot Healing Tool.
Step 5 : In the top panel click the Proximity Match.
Step 6 : The Spot Healing Brush functions just like a Brush.
Step 7 : You can see a blemish here.
Step 8 : Make the Brush just a little bigger than the blemish. To make a Brush small press [ (left square bracket) and ] (right square bracket) to make it large.
Step 9 : Click once with the tool and the blemish vanishes.
Step 10 : You should always zoom into the image. Use a small Hard Brush to remove the blemishes one by one by clicking on them. Always sample from left to right to follow the contours of the skin.
Step 11 : You can also drag with the Spot Healing BrushTool.
But be careful while dragging across because you can get weird effects.
It has left behind this indentation. In such cases undo by pressing CTRL+Z.
Step 12 : Sometimes when you have a blemish very close to hair in this case you can land up by selecting edge detail from the hair.
This is what I land up with. Press CTRL+Z to undo.
Step 13 : Click the Elliptical Marquee Tool.
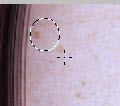
Step 14 : Draw a small selection around the blemish.
Step 15 : Reselect the Spot Healing Brush. Click the blemish inside the selection.
Step 16 : Press CTRL+D to deselect. The blemish goes away without affecting the hair.
Step 17 : The major blemishes have been removed.
Step 18 : Press CTRL+J to duplicate Layer 1 to Layer 1 copy.
Step 19 : Go to Filter>Blur>Surface Blur.
Step 20 : In the Surface Blur dialogue box I have set a Threshold of 100 and Radius of 5. Click OK.
The image after applying Surface Blur. Surface Blur does not affect the edges, which remains clean.
Step 21 : Press ALT and click the Layer Mask button. A Black Layer Mask forms on Layer 1 copy.
The Black Layer Mask hides the Surface Blur applied.
Step 22 : The Foreground Color changes to White.
Step 23 : Click the Brush Tool.
Step 24 : In the top panel click to reveal the Brush controls and set the Harness to 0. You can control the size of the brush with the [ ] (square brackets) as shown in Step 8.
Step 25 : Lower the Flow to 20%.
Step 26 : Begin painting the skin. Since a Black Layer Mask is being used you are using the brush to reveal the image below to which Surface Blur was given.
The image after painting with the Brush.
Step 27 : Lower the Opacity of Layer 1 copy. I have lowered it to 88%. I am lowering the Opacity to avoid a fake look.
Step 28 : Click the Layer thumbnail of Layer 1 copy.
Step 29 : Click the Edit in Quick Mask Mode. The Foreground Color is set to Black.
Step 30 : Paint the skin, avoiding the eyes and lips with the Quick Mask. It does not have to be too accurate.
Step 31 : Click the Quick Mask button to exit the Quick Mask mode.
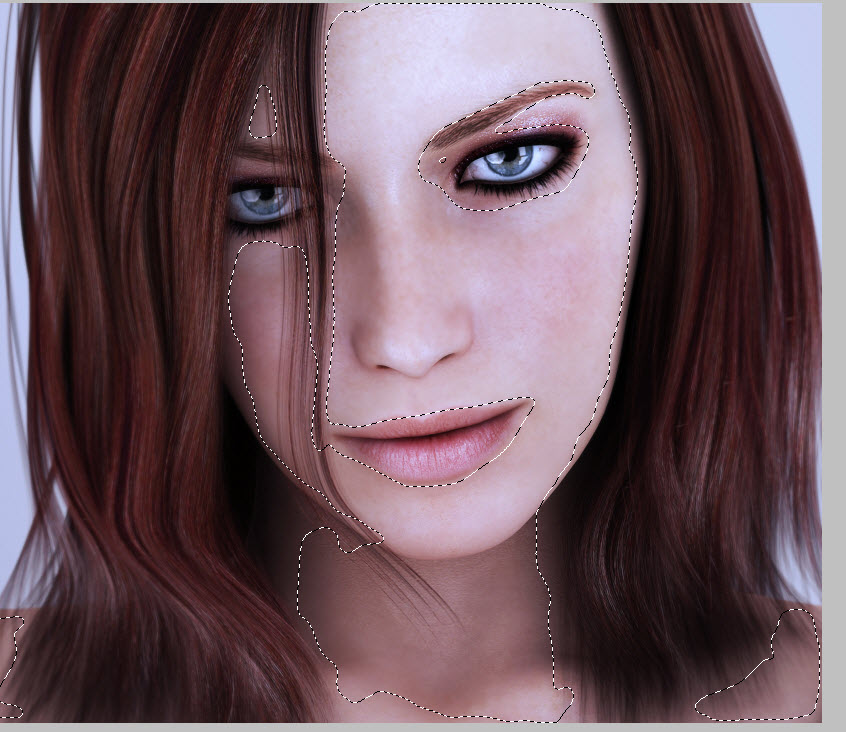
Step 32 : When you exit the Quick Mask mode you get a selection, which has to be inversed.
Step 33 : Press CTRL+SHIFT+I to inverse the selection.
Step 34 : Press CTRL+J to paste the selection onto Layer2.
Step 35 : Press CTRL+SHIFT+U to desaturate Layer 2.
The image may look weird after the desaturation, but it is OK.
Step 36 : Increase the Opacity of the layer to 100%.
Step 37 : Change the Blend Mode to Soft Light.
Step 38 : Press CTRL+J to duplicate Layer 2to Layer 2 copy. Change the Blend Mode to Overlay.
The image complexion looks a bit strange.
Step 39 : Reduce the Opacity of Layer 2 copy and Layer 2 to 50% or thereabout.
The image looks like this after lowering the Opacity of the two layers.
Step 40 : Click on Layer 1.
Step 41 : Press CTRL+J to duplicate Layer 1 to Layer 1 copy 2.
Step 42 : Drag Layer 1 copy right to the top.
Step 43 : Go to Filter>Sharpen>Smart Sharpen.
Step 44 : Set the Amount to 120 and Radius to 1. You can see in the Preview box that it has really sharpened the image. Click OK.
Step 45 : Press ALT and click the layer Mask button. A Black Layer Mask forms on Layer 1 copy 2. It hides the sharpening just given.
Step 46 : Click the Brush Tool.
Step 47 : Set the Flow at 20%.
Step 48 : Change the Foreground Color to White.
Step 49 : Paint the eyes and lips.
Step 50 : Make the Brush large by pressing the ] (right square bracket) and paint over the side of the jaw and the edge of the nose.
Step 51 : Zoom into the image. You can see the blemishes have been removed and the skin softened.
The finished image.
Other photoshop tutorials are here
Subscribe to:
Post Comments (Atom)


No comments:
Post a Comment