Saturday, October 31, 2015
3D Sphere


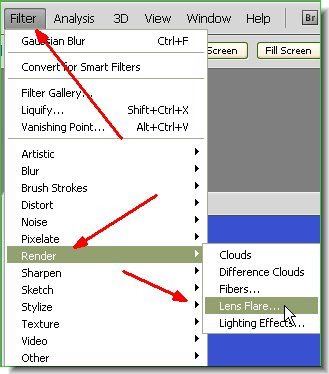 Step 5 : Go to Filter>Render>Lens Flare.
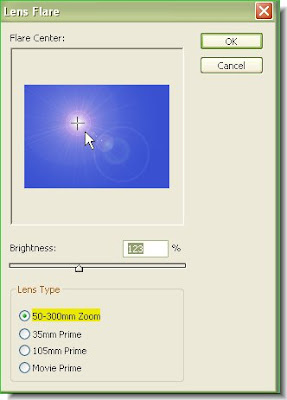 Step 6 : The Flare dialogue box opens. I have chosen the first one. You can drag the Flare to where you want it by clicking on the screen. Click ok.
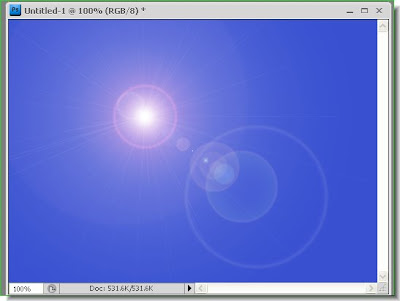 The Flare has been applied.
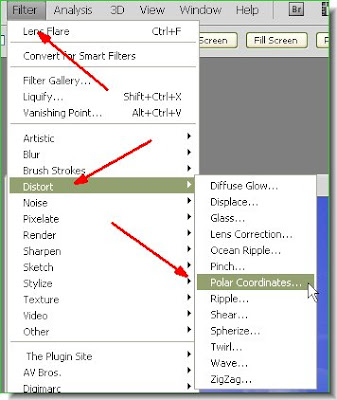 Step 7 : Go to Filter>Distort>Polar Coordinates.
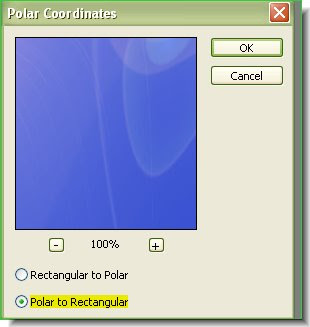 Step 8 : When the Polar Coordinates dialogue box opens click on Polar to Rectangular. Click ok.
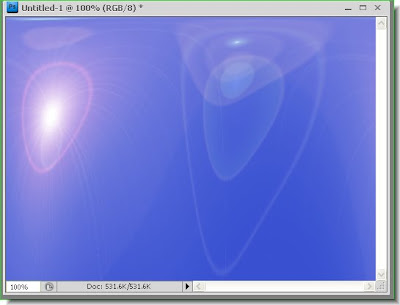 This is how my image looks. Your image may not look exactly like this, but don't bother.
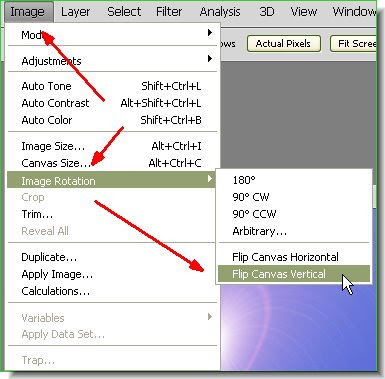 Step 9 : Go to Image>Image Rotation>Flip Canvas Vertical.
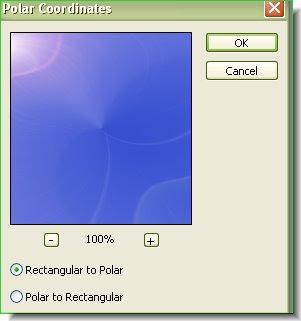
Step 10 : Now like in Steps 6, go to Filter>Distort>Polar Coordinates. This time click on Rectangular to Polar in the dialogue box. Click ok.
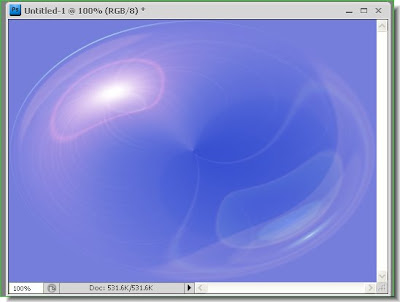 This is how my image looks. Your image should look similar.
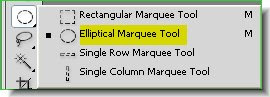 Step 11 : Click on the Elliptical Marquee Tool.
 Step 12 : Draw out an oval or a circle. You can draw a perfect circle by keeping Shift pressed while dragging with the Elliptical Marquee Tool. Use the cursor to position your selection. You need not worry that it is not exactly in the centre. That will be taken care of.
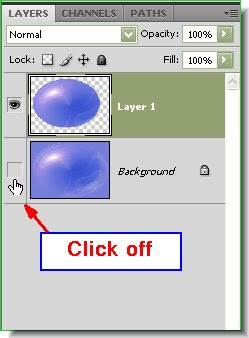 Step 13 : Now press CTRL+J. Look in the Layers pallette, you will f ind that the selection has been cut and pasted on a layer above the Background. Now click off the eye icon in Background Layer.
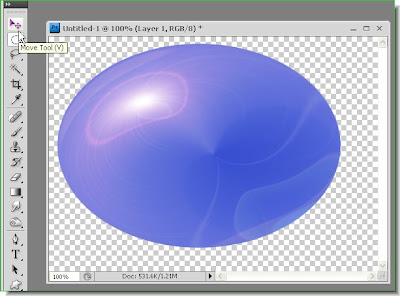 Step 14 : Press CTRL+A. This will select the entire image. Click on the Move Tool.
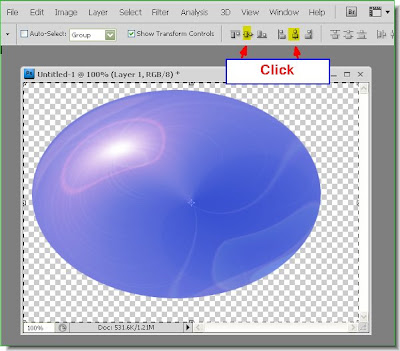 You can see that the entire image has been selected by a column of marching ants. Look at the top panel where the two red arrows point to. Click the second and fifth icons.
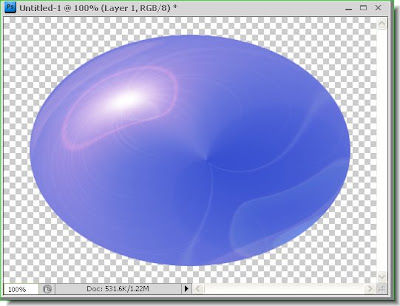
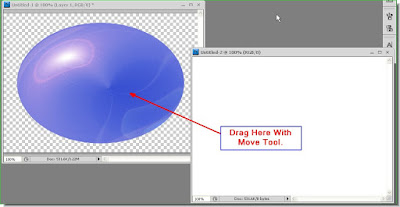 Step 16 : Open a New White Layer. Drag the White layer over the Layer containing the Sphere with the Move Tool. Keep Shift pressed while dragging. This will make the White layer land exactly in the Centre of the other layer. You can resize it if necessary keeping CTRL+ALT pressed and dragging with the cursor.
 Step 17 : The White layer covers the Sphere layer entirely.
 Step 18 : Now press CTRL+SHIFT+[. This will make the White Layer go behind the Sphere layer.
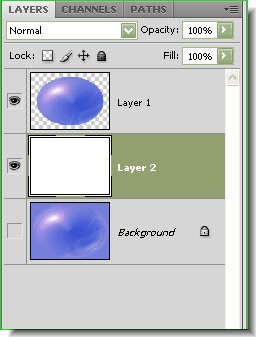 Step 19 : This is how the Layers pallette looks. The Sphere is on Layer 1 and White layer on Layer 2.
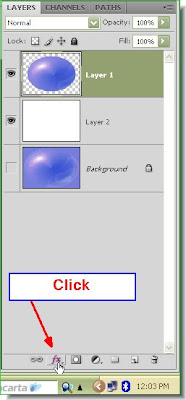 Step 20 : Now click on Layer 1, then click the Add Layer Style button at the bottom of the Layers Pallete. (It looks different in PS7, but is found in the same place.)
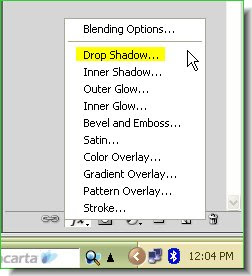 Step 21 : From the popup click on Drop Shadow.


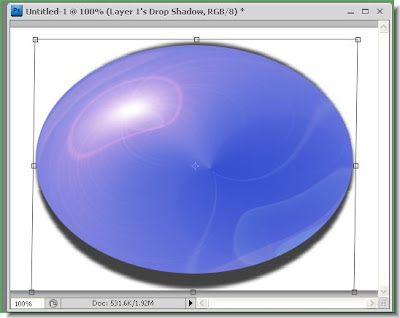 Step 27 : You can see the Drop Shadow now. Press CTRL+T. A square selection immediately appears. With the cursor drag the bottom midpoint straight down. You will find the shadow appear from below the sphere.
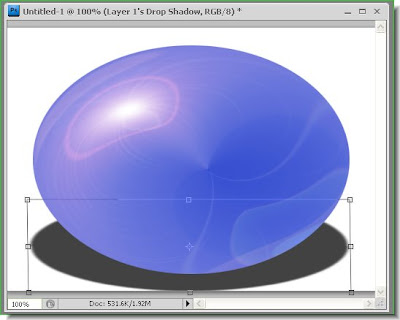 Step 28 : Now click the top midpoint and drag down. The shadow will begin to flatten.
Step 29 : Drag till down till the shadow appears to be appropriately below the sphere.
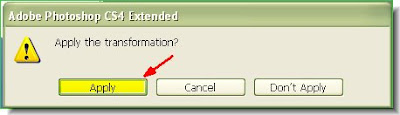
Step 30 : Click on the Move Tool or any other tool in the left panel and this dialogue will appear. Click Apply. Another way to apply the transformation is to click a tick mark that appears on the top panel at right.
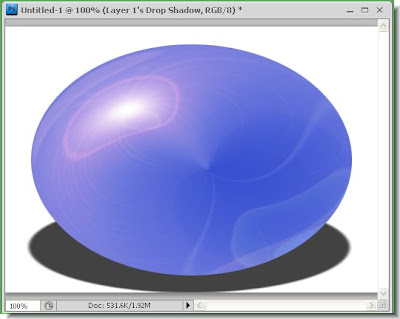
This is how the Sphere and the shadow looks now.
 Step 31 : Make sure that the Foreground Color is Black and background Color is White. If not then press 'x' and then 'd'. Next click the Gradient Tool.
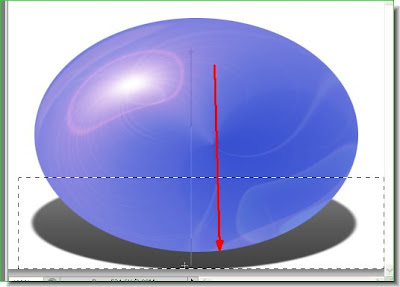 Step 32 : Now keeping the Shift pressed drag down as shown. Keeping the Shift pressed will enable you to drag straight down.
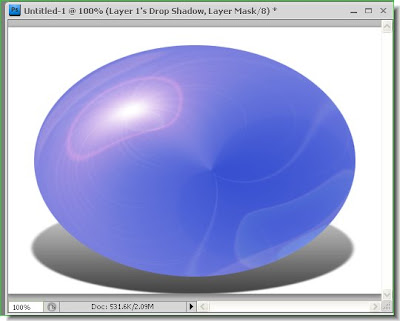 This how the shadow looks after applying the Gradient. Press CTRL+D to deselect.
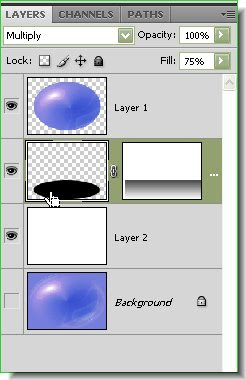 Step 33 : Now click on the layer thumbnail of the shadow in Layer 1's Drop Shadow layer. You will find that a frame appears around the thumbnail, which means it has been selected.
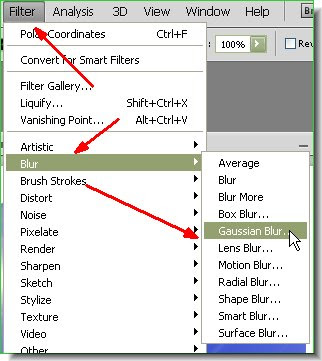 Step 34 : Go to Filter>Blur>Gaussian Blur.
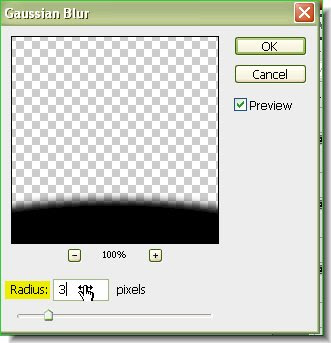 Step 35 : The Gaussian dialogue box opens. I have set a Radius of 3 pixels. Click ok.
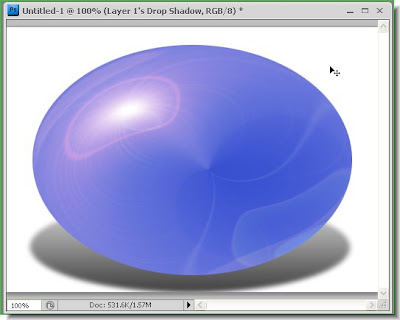
The shadow has been blurred.
 Step 36 : Click on Layer 1. This contains the sphere.
 Step 37 : Apply a Gaussian Blur of 1.5 pixels.
 Step 38 : The edges of the Sphere no longer look hard, but has been softened.
 Step 39 : Click on Layer 2 which contains the White layer.
 Step 40 : Change the Foreground Color to Blue.
 Step 41 : Click on the Gradient Tool.
 Step 42 : Drag diagonally with the Gradient Tool.
 The Gradient has been applied.
 Step 43 : Apply a Gaussian Blur with a Radius of 4 pixels to Layer 2 to which you applied the Gradient.
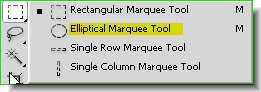 Step 44 : Click the elliptical Marquee Tool.
 Step 45 : Drag out with the Elliptical Marquee Tool.
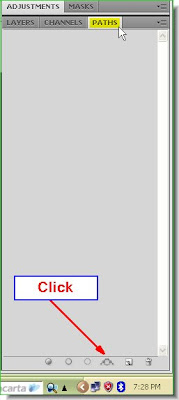 Step 46 : Click on the Paths pallette. Click on the Make Workpath from Selection button.
Step 47 : The dotted line has change to a thin line (Path) . Click back on the Layers pallette.
 Step 48 : After clicking back on the Layers pallette, click on Layer 1, which is the topmost layer.
 Step 49 : Click the Type Tool and click Horizontal Type Tool. Click on top to
 Step 50 : Click on any font from the dropdown menu. I have chosen Impact.
 Step 51 : Place the cursor on the line. It will change shape and will appear like an I with a wavy line through it. Then begin typing. I have type 'Around the World in 80 Days' repeatedly.
 Step 52 : When you near the end, the text may not fit, but continue typing till you are finished. You may not be able to see what you type in the end.

 Step 55 : Now use the Up arrow key, then the Down arrow key key to reveal the entire text.
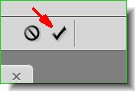 Step 56 : After the entire Text is revealed click the Tick mark in the top panel to apply the transformation.
The entire Text.
 Step 57 : Click on the Paths pallette. Click anywhere below in the area where the white arrow points to. The path below the Text disappears.
Step 58 : Click back on the Layers pallette. The Text layer is on top.

The text around the sphere.
 Step 60 : Click on the Zoom Tool.
 Step 61 : I have zoomed into the image.
 Step 62 : Click on the Add Layer Mask button. A Layer Mask forms next to the Text Layer,
 Step 63 : Click the Brush Tool Ensure you have a soft tip. To make the brush tip soft press CTRL+[ a number of time. (To make it hard press CTRL+]). Here a soft brush is needed.
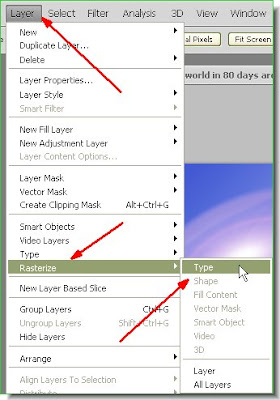 Step 64 : Go to Layer>Rasterize>Text.
 Step 65 : Thed text has been rasterized (made editable). Now CTRL+Click the layer thumbnail of the Rasterized Text layer.
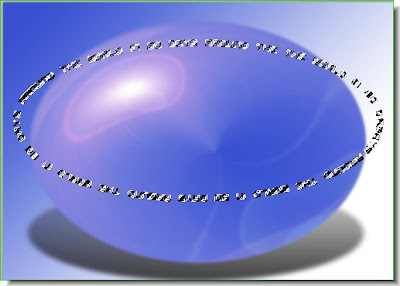
Step 66 : As soon as you CTRL+Click the text is selected.

Step 67 : Change the Foreground Color to a shade of Blue. Click the Gradient Tool. You can see how the Gradient Editor looks at the top.

Step 68 : Now drag diagonally from the left top corner to right bottom corner with the Gradient Tool.

The Gradient has been applied. Press CTRL+D to get rid of the marching ants and there you are.
Send your feedback please at pradip.chowdhury@gmail.com.
No comments:
Post a Comment