Sunday, November 15, 2015
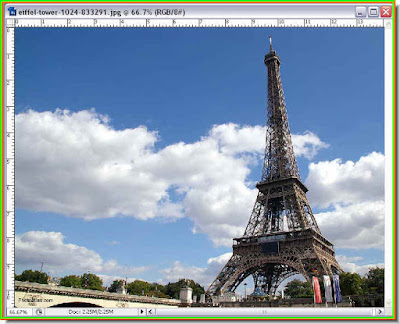
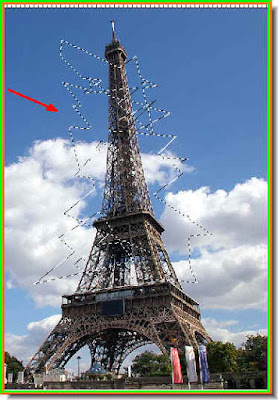
Shatter effect with Photoshop
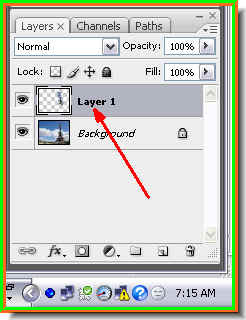
Step 6 : Press CTRL+J. The selection will be copied and pasted into a new layer -- Layer 1.
Step 7 : The selection disappears from the photo.

Step 8 : CTRL+Click the Layer 1 thumbnail to make the selection appear again.

Step 9 : The selection reappears.
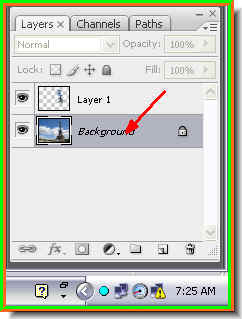
Step 10 : Click on the Background layer.
Step 11 : Press CTRL+J and the selection is again pasted on another new layer --Layer 2 above the Background layer.

Step 12 : Click the Move Tool.
Step 13 : On the panel at the top ensure that the Show Transform Controls is checked. It is called Bounding Box in PS7 and is found in the same place.

Step 14 : When you click the Move Tool a selection appears around the image.

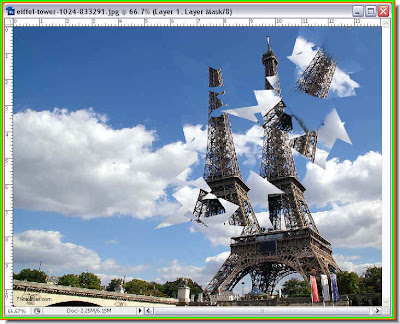
Step 15 : Use the Move Toool to move Layer 2 to the left. You can see the shatter effect.
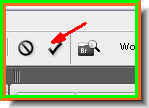
Step 16 : Click the Tick Mark in the top panel at right or press return to commit the transformation. Step 17 : Click on Layer 1.
Step 18 : Use the Move Tool to move Layer 1 to the right.

Step 19 : Hover your cursor near a corner of the selection and a small bent double headed arrow will appear. You can then rotate the selection as shown.
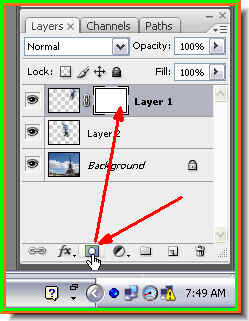
Step 20 : Click the Layer Mask button and a Layer Mask forms next to the Layer thumbnail on Layer 1.
Step 21 : Click on the Foreground Color. Make sure it is Black. If it is not press 'x' then 'd' on the keyboard.

Step 22 : Click the Brush Tool to select it.

Step 23 : I am using the brush to brush away parts of the layer. You can control the size of the brush tip with the [ ] (bracket keys). Press [ to make the brush tip smaller. Press ] to make it larger. I am also using a soft brush. Press SHIFT and the [ to make it soft and SHIFT and ] to make it hard.

In the top panel at left you can see the brush tip. This is a soft brush tip. Note that the size of the tip is 40.
This is a hard brush tip. Note that the size remains unchanged.

Step 24 : More brushwork to erase a portion of the layer.
The finished shatter effect.
No comments:
Post a Comment