Monday, November 30, 2015
Bizarre Colors
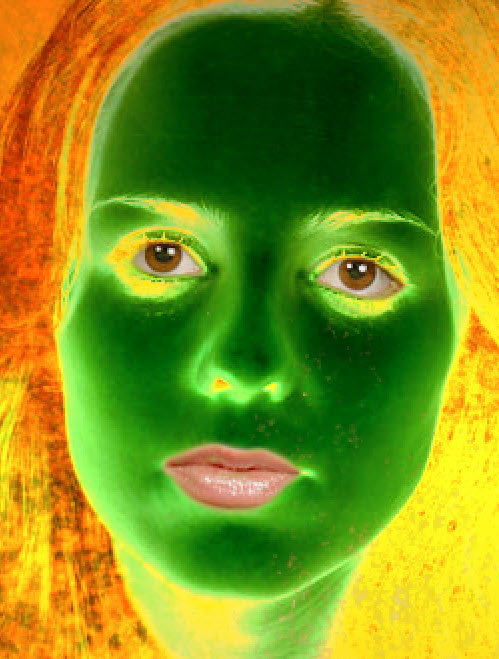
Let us use and ordinary image to see what we can do with layers, texture, Blend If and Adjustment Layers to create a poster with bizarre colors. None of the steps are hard and fast and you have room to experiment.
 This is the effect I will be creating.

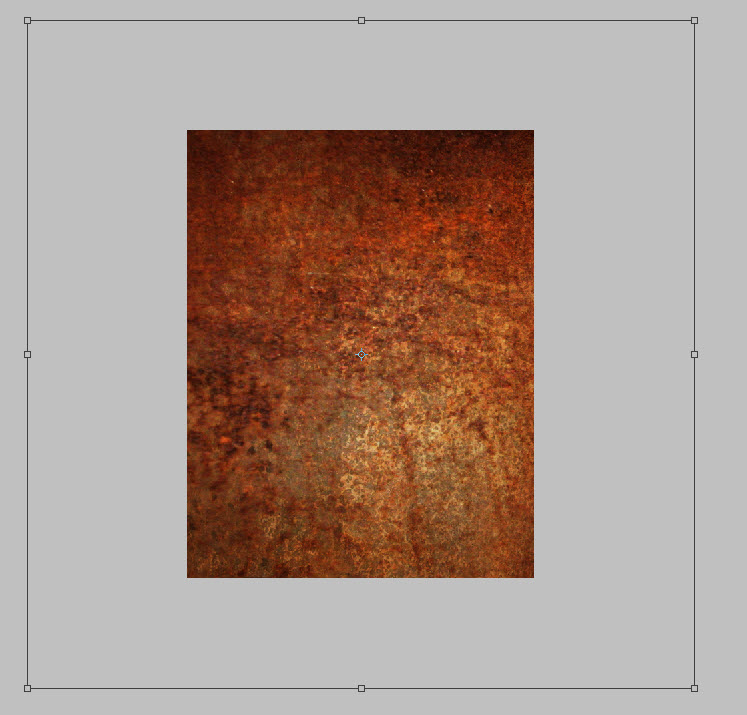
Step 1 : I will be using this free stock photo which you will find here
It belongs to Eurominionius

Step 2 : Duplicate the Background layer by pressing CTRL+J.

Step 3 : Press CTRL+I to invert Layer1.

The image looks like this.

Step 4 : Double click Layer 1 where shown by the small white hand to bring up the Blending Options.


Open it in Photoshop.


Other photoshop tutorials are here
Image as a Layer Mask
You must know about creating a Layer Mask. It is simple enough. But can you use an image as a Mask? You can and this is all what this tutorial is about. You will need two free stock images.

This is the effect I intend to create.

Step 1 : I will be using this free stock image. You will find it here
It belongs to xKarexBearx

And this free stock image of Chicago. You will find it here
It belongs to Grouper

Step 2 : We will first work on the head shot. Go to the Channels palette.

Step 3 : In the Channels palette, CTRL+CLICK the thumbnail of the RGB channel.

Step 4 : As soon as you CTRL+CLICK a selection forms on the image.

Step 5 : Click the New Channel button and an Alpha 1 channel forms at the bottom.

Step 6 : The image looks like this.

Step 7 : Make sure the Foreground/Background is set to the default Black/White. If it is not press x and d on the keyboard to restore the default.

Step 8 : Press CTRL+BACKSPACE to fill with the Background Color which is White. Press CTRL+D to deselect.

Step 9 : Go to Edit>Fill.

Step 10 : In the Fill dialogue box set the Use to Foreground Color (which is Black) and Mode to Overlay instead of the default Normal.
Click OK.

Step 11 : This makes the image darker.

Step 12 : Click the Brush Tool.

Step 13 : Click in the top panel where the arrow points to bring up the Brush Controls. Set the Hardness to around 75%. You can set the set size or you can use the shortcuts. Press [ (left square bracket) to make the Brush smaller and ] (right bracket key) to make it larger.

Step 14 : Paint the lower part of the image Black.

Step 15 : Press CTRL+L to bring up the Levels dialogue box.

Step 16 : Nudge the Black slider at left and the middle slider slightly towards the right to slightly darken the image a bit more. Click OK.

Step 17 : The image looks like this.

Step 18 : Return to the Layers palette by clicking on it. Click the New Layer icon. A new layer 1 forms. Press CTRL+Backspace. Layer 1 fills with White.

The image looks like this after filling with White.

Step 19 : Press v (shortcut for Move Tool) and drag and drop the city image on the other one. Close the city image. You no longer need it.

Step 20 : Press CTRL+T for free selection. A selection forms.

Step 21 : Drag the middle handles all around the image to resize it properly.

Step 22 : Press ENTER to apply the selection.

The Layer palette looks like this.

Step 23 : Go to Select>Load Selection.

Step 24 : In the Load selection dialogue box select Alpha 1 as the Channel.

Step 25 : Check the Invert. Click OK.

Step 26 : The selection is loaded

Step 27 : Click the Add Layer Mask button. A Layer Mask forms next to the Layer thumbnail on Layer 2.

This is how the image looks like. The image has been masked by an image.

Step 28 : Click the New Fill or Adjustment layer button.

Step 29 : Click on Hue/Saturation.

Step 30 : In Hue/Saturation, check Colorize. Drag the Hue slider to taste.

The finished image. I think that was easy. Other Photoshop tutorials are here
Subscribe to:
Comments (Atom)